Tuesday, November 18, 2014

DIY Christmas Tree Scape


We all know the meaning of "DIY", but what does it mean personally to you? For me, I've discovered that it means finding confidence within yourself. Sometimes, it's easy to feel inadequate... but i've found that you can do things that you think you can't. So how about trying it? Now, i'm introducing "Try it Tuesday". 

This is my first year for creating my own Christmas decorations. It's amazing what you can create, with a low budget. There are 3 trees in on the blog today; the glitter trees, the snow ball trees, and scalloped paper tree found in the "Cute Christmas Trees" tutorial. 

We will start with the 3 Glitter trees. 
I went to Hobby Lobby and discovered this adorable adorable paper. Cute, right?? Best part of all, it cost me $2.00. Talk about a bargain. 


You can create these trees in basically any size. However, whatever size you choose make sure you cut the paper to be a rectangle which makes it easier to wrap. 


Next, you will create the tip of your tree and glue it. 


Keep wrapping and watch your tip carefully so it doesn't have a gap. 


Glue the end of your paper to the tree. 


Cut it so to be flat and you're done!


Tutorial # 2


Next tutorial is the "Snow ball tree". I found these little twig things at Hobby Lobby. Everything Christmas is 50% off at Hobby Lobby and I got these for $1.00. I thought these would be adorable as trees.  


Luckily, I had some blocks on hand but if you don't, you can also get those at Hobby Lobby for $4.00 a pack. 


Paint your blocks the desired color and sand the edges down.  Then drill a hole for your tree. 
 

Glue the end of your tree and make sure the hole you just drilled is big enough for the tree to fit in to. 


And voila! 


If you are wondering about the cardboard deer, I found it at Jo Ann's for $2.99 and painted it with DecoArt Metallic Gold.


There you have it 2 very easy, adorable, and affordable crafts! 
Inspiring creativity and confidence.
Happy Tuesday!

Thursday, November 13, 2014

DIY Ugly Sweater


Christmas is nearing and you know what that means.... Ugly Sweater Parties, yay!! 

The best part about this Santa Sweater is you can go find sweaters at Walmart for 
$5, SO cheap for a sweater that you can create to be your own. I had the rest of the items on hand, which are: Yellow Felt, Black fabric of your choice, and white fabric of your choice. 


You can make this sweater with a Hot Glue gun... the only thing is that, the glue can only withstand the washer so many times. For me, I wanted to be able to wash it and sewing was the best option. 

Start out by cutting a white strip on fabric that you will ruffle up and go around the entire sweater. If you do this with a glue gun, run your white strip through your sewing machine and bundle along the way to create a ruffled look. I ruffled mine as I sewed. 


You will do the same for the cuffs and neck. My white fabric was fraying, so I folded the ends in and sewed over it to stop the fraying.


Cut a black strip that will also go along the entire sweater. Make sure it is higher than the bottom ruffle to make your belt.

Cut your felt in a square with another square inside of it, to create the buckle. 


Your ugly sweater is done, enjoy!


Tuesday, November 11, 2014

Seasonal Wreath


What's the point in buying wreaths that cost so much money and you can only display them for few weeks of the year? It's pointless, right? Seasonal Wreath - keep the same wreath all year long and switch out the arrangements according to the season!


Recently, made this wreath for my fall decorations. For this wreath, I used brown paper bags  and flowers. I loved my wreath so much that I wanted a Christmas version . So I did just that! 


To make this an actual seasonal wreath, you don't want to get rid of your floral pieces. KEEP THEM. You will begin this process by cutting off the flowers from the BACK. This will help keep your arrangement in one piece. 


At this point, you would add Velcro. Now you have your Fall seasonal floral arrangement. 


You have a "blank canvas" again. 


To fill in the remaining empty space, cut a brown paper bag in 1/2 inch strips. After that, you will crinkle the pieces by scrunching them in your hands.


 Make sure your wreath is covered completely by your crinkled strips.


Decide what the materials will be for you Christmas piece. 


I began by cutting my garland pieces individually. 


Then, I added some frosted leaves for detail. 


After that, I cut my frosted cranberry and glued them inside my garland. 


The last step, I added some pine cones that I got from my backyard which makes it even more special! 


I love the final product and am thrilled I can change the pieces based off of the season! 


Thanks! 


Wednesday, November 5, 2014

Fancy your frame up!


If you have old frames that you don't know what to do with, here is a cute solution! Recently, my grandmother-in-law gave me a box full of  frames that she wasn't using and I was thrilled to get started on this project! 

To get started, you'll need: 
- Frame
- Decorative trim 
-Paint and brushes
-Glue (I used a hot glue gun but you can use wood glue) 
- Sander or sandpaper
- jigsaw 

You will first start out by dusting your frame, making sure the surface is clean. 


I had some decorative trim on hand and decided to put it to use. This trim was found at Home Depot and wasn't expensive. Make sure to put the two together so see whether or not you'll like them as one piece. 


This next step can be complicated. Luckily though, my grandfather is very skilled with wood and he shared a secret with me when it comes to making 2 lines come together on an angle. Unfortunately, I got this information AFTER the frame was complete so I don't have pictures to help. 

 - Take your first piece of trim and put the FLAT end all the way to the frame. 
- The second piece will go next to your first. Cut it at a 45 degree angle. 
- Now your first piece has a profile to fit next to. 

Cut your wood with a jigsaw and sand down the edges. TIP - When you cut your trim, leave more on the end so you aren't sanding away your edges that you just matched up with one another.


Wipe your surface clean and make sure the dust is off and everything fits. Paint your pieces BEFORE gluing. For the frame, I had some BEHR white paint and used that. Use a nice brand of paint to avoid painting too many layers. For the trim, I used "Elegant Finish Metallic Paint - Champagne Gold",  which I got at JoAnn's.  Warning though, you may become obsessed.


After that, glue your pieces together and you are done! 


Thanks and enjoy! 


Tuesday, November 4, 2014

Caramel Steamer


In celebration of the weather getting a bit chilly, I decided to share this easy and tasty recipe! 

All you need is: 
 - 3 C. Milk 
- 4 T Caramel Syrup 
- 1 T Vanilla Syrup 
-Milk Frother (Optional)

* 2-3 Servings


Warm up the milk on medium heat. Once all heated through, add your flavorings.
  After that, you would use your frother making sure everything is incorporated evenly. *NOTE - You definitely don't need a frother to make this steamer, but if you have one then use it! It will create a nice, thick, and foamy layer on top.*


Top it off with a little whip cream and enjoy! 

Tuesday, October 28, 2014

Cute Christmas Trees


A few weeks ago, my sister and I went to Hobby Lobby. I found these discounted cardboard trees and decided to get crafty and see what I could come up with. Luckily enough, a hot glue gun and cardboard together are very forgiving. Through trial and error, these adorable trees are the end results and I love them!

To get you started, you'll need:
- Hot Glue Gun
- Cardboard Trees
-  Scissors
- Craft Paper of your choice


You'll start with your Cardboard Tree and Paper. Make sure to use thicker paper to withstand the hot glue gun. 


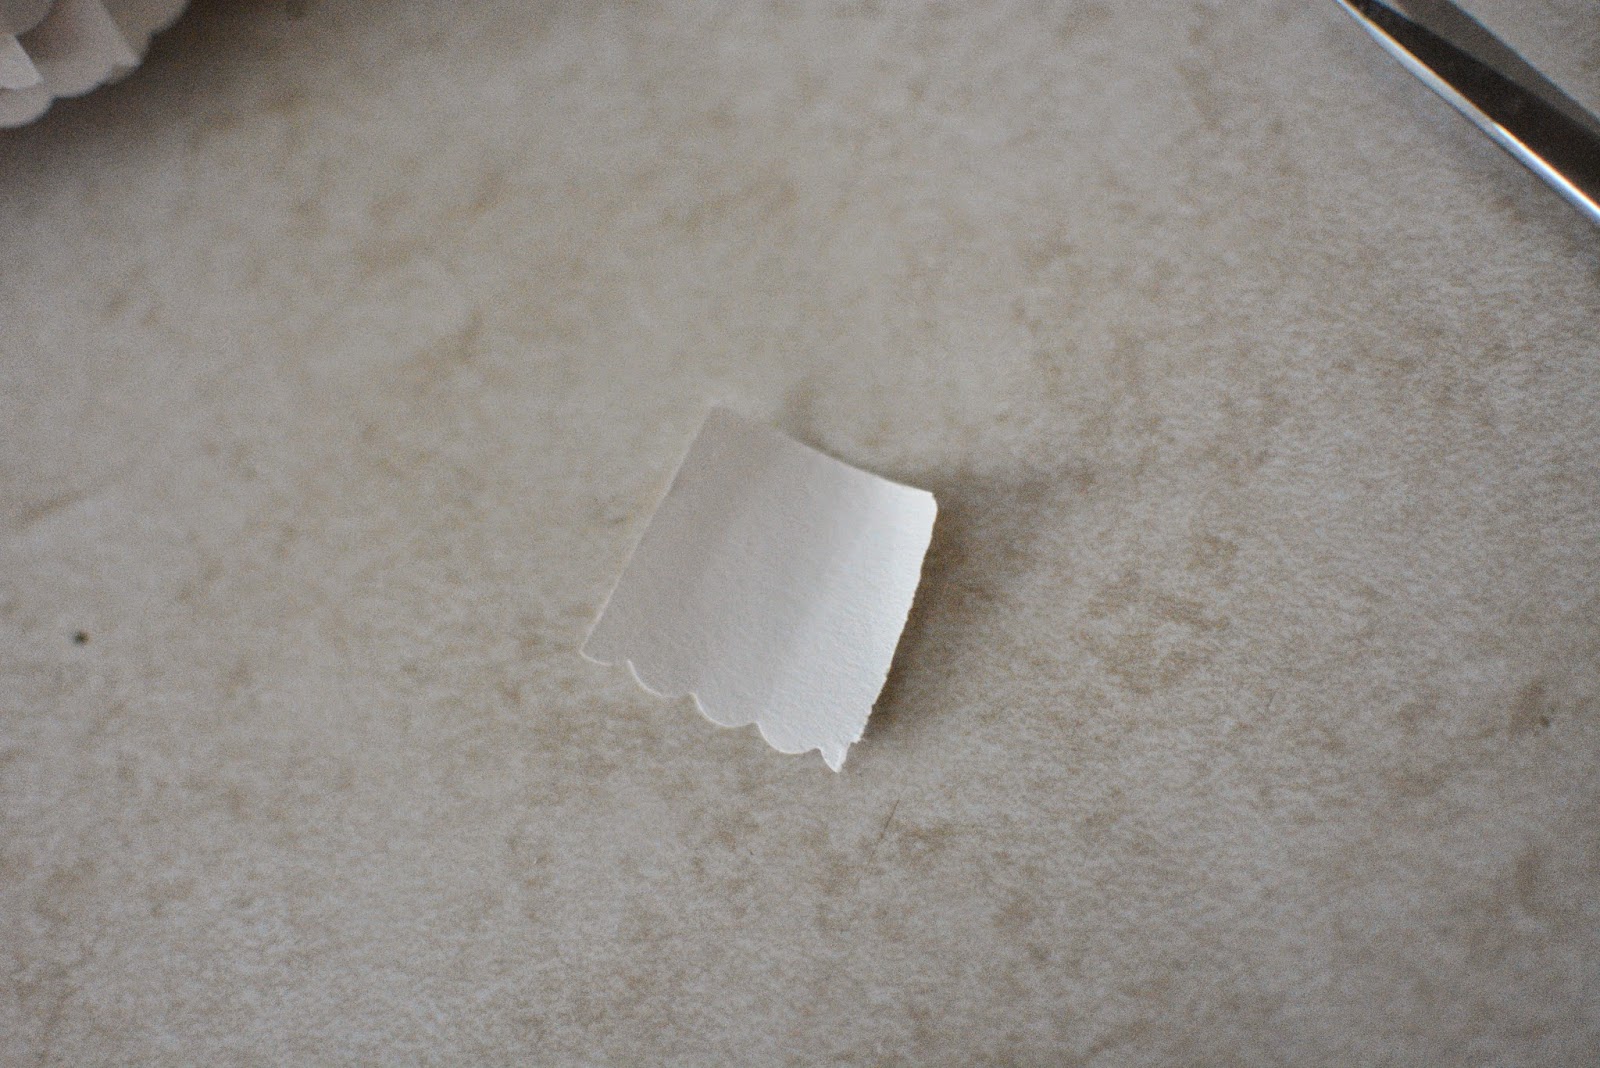
I used scalloped scissors to make it more decorative, but you can use whatever scissors you like. IF you do use scalloped, or patterned, start cutting a thin edge off to get your scallop look. 


You'll cut strips of paper about 1/2 inch. 


Once that's done, cut your strips in to smaller pieces. I cut mine every 4 scallops or about every inch.


You'll then glue the top of your piece with the scallop at the bottom and place on the end of your tree, working from bottom to top. 


After that, you'll continue to glue each piece overlapping one another. The less patterned, the better. 


The higher you get, you may need to cut the pieces smaller, I cut mine every 2 scallops. 


For the very top, make sure your piece has a straight line on all sides except the bottom. Roll the paper to make a cone that'll fit the very tip of your tree


Glue the top and put your cone on. 


Then you're done! 


Hope you adore these trees as much as I do, thanks!